Calling all DIY enthusiasts! Are your kitchen cabinets looking a little tired and dated? Do you dream of a kitchen makeover but cringe at the thought of hefty contractor fees and weeks of disruption? Well, DIY kitchen cabinet refacing might be the perfect solution!
While the idea of transforming your kitchen yourself is certainly appealing, let's take a moment to explore the reality of this project before you dive headfirst into a sawdust whirlwind. Whether you ultimately choose the DIY route or opt for professional cabinet refacing services, understanding the process is key to achieving your dream kitchen.
Which Tools Do You Need for Refacing Cabinets?
Before you start your DIY cabinet refacing project, you'll need to assemble your arsenal of tools and materials. Here's a basic list to get you started:
Measuring tape
Level
Screwdriver
Drill
Jigsaw
Veneer applicator tool
Construction adhesive
Matching stain pen
Safety glasses and gloves
You'll need to budget around $150-300 for tools if you don't already own them. Fortunately, most homeowners likely have basic items like screwdrivers, measuring tape, and a drill on hand, which can significantly reduce your initial investment.
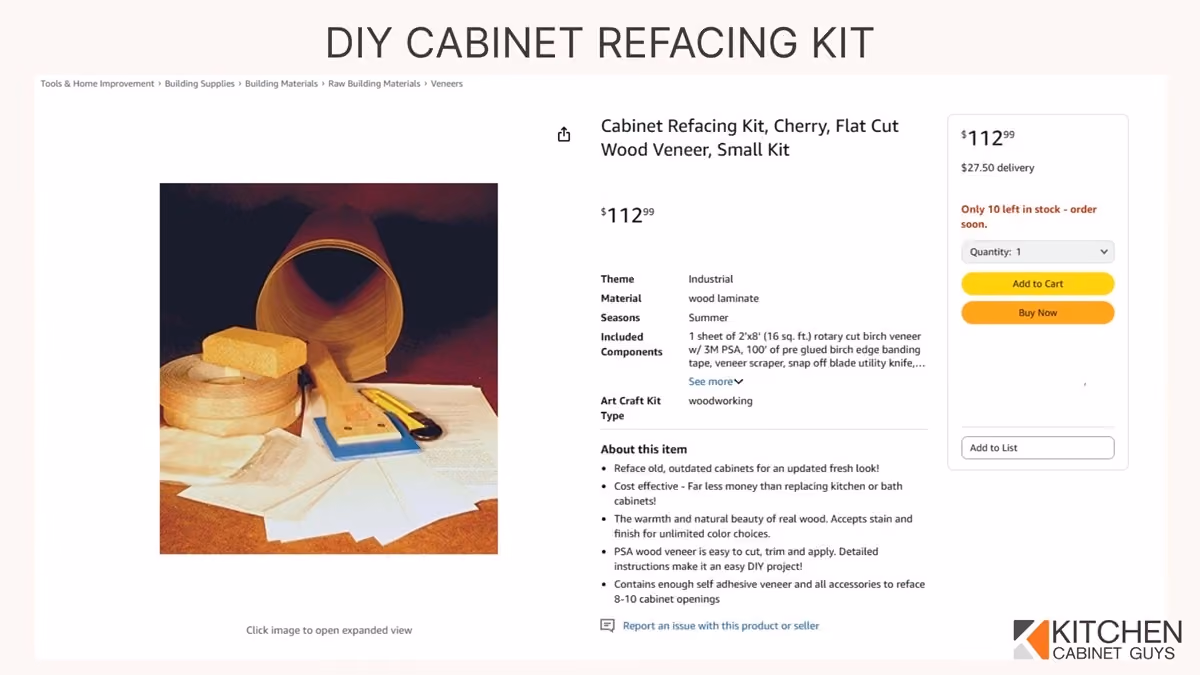
DIY cabinet refacing kits are available on platforms like Amazon for those looking to simplify the process. These kits typically cost between $100 and $250 and include essential materials like veneer sheets, edge banding tape, application tools, and sandpaper.
Most kits provide wood veneer, as it's one of the easiest materials for DIYers to apply to existing cabinets. However, wood veneer is known for its inflexibility compared to materials like thermofoil (also known as 3D laminate), which can conform to complex cabinet door designs. Thermofoil can be applied to virtually any drawer front style, so it’s preferred for curved or detailed surfaces.
Choosing the Right Refacing Materials for Your DIY Project
Now comes the fun part — selecting your refacing materials! This is where you get to tap into your creative side and choose the style that will transform your kitchen.
Wood Veneer
Thermofoil (3D Laminate)
Rigid Laminate
Benefits
Natural wood look, can be stained/painted, easy to cut
Highly durable, moisture resistant, flexible for curved surfaces, wide variety of finishes
Affordable, water-resistant, wide color selection
Downsides
Less moisture resistant, can chip/peel, limited flexibility
Requires special equipment for best application, can be damaged by extreme heat
Can chip at edges, less flexible than thermofoil, flat appearance
Cost
$$
$$$
$
Durability
⭐⭐⭐
⭐⭐⭐⭐⭐
⭐⭐⭐⭐
DIY Difficulty
⭐⭐
⭐⭐⭐⭐
⭐⭐⭐
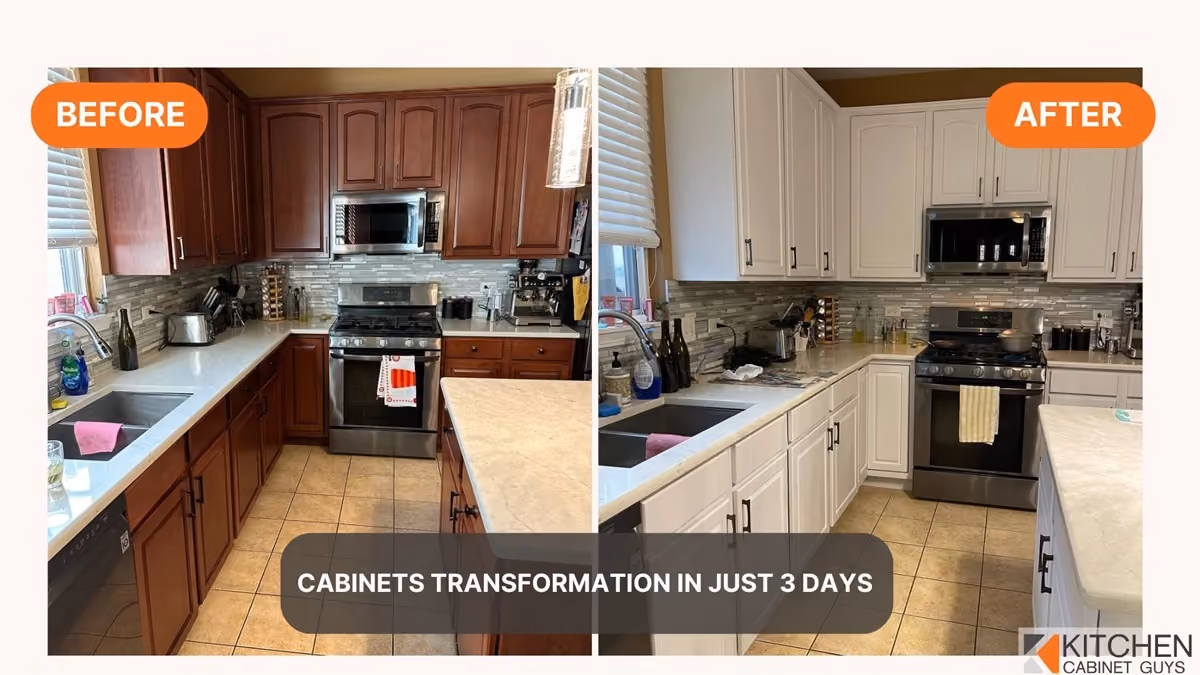
Choosing the right materials can give your kitchen the appearance of having new cabinets without the need for a full replacement, offering a cost-effective way to achieve a major transformation.
The Refacing Process: A Step-by-Step Guide
We're focusing on the easiest DIY cabinet refacing project: wood or laminate veneer. While these materials offer limited design options compared to thermofoil, they're much more DIY-friendly. Thermofoil requires specialized equipment and techniques that most beginners find challenging to master.
Now that you've gathered your tools and materials, it's time to dive into the refacing process. Here's a general overview of the steps involved:
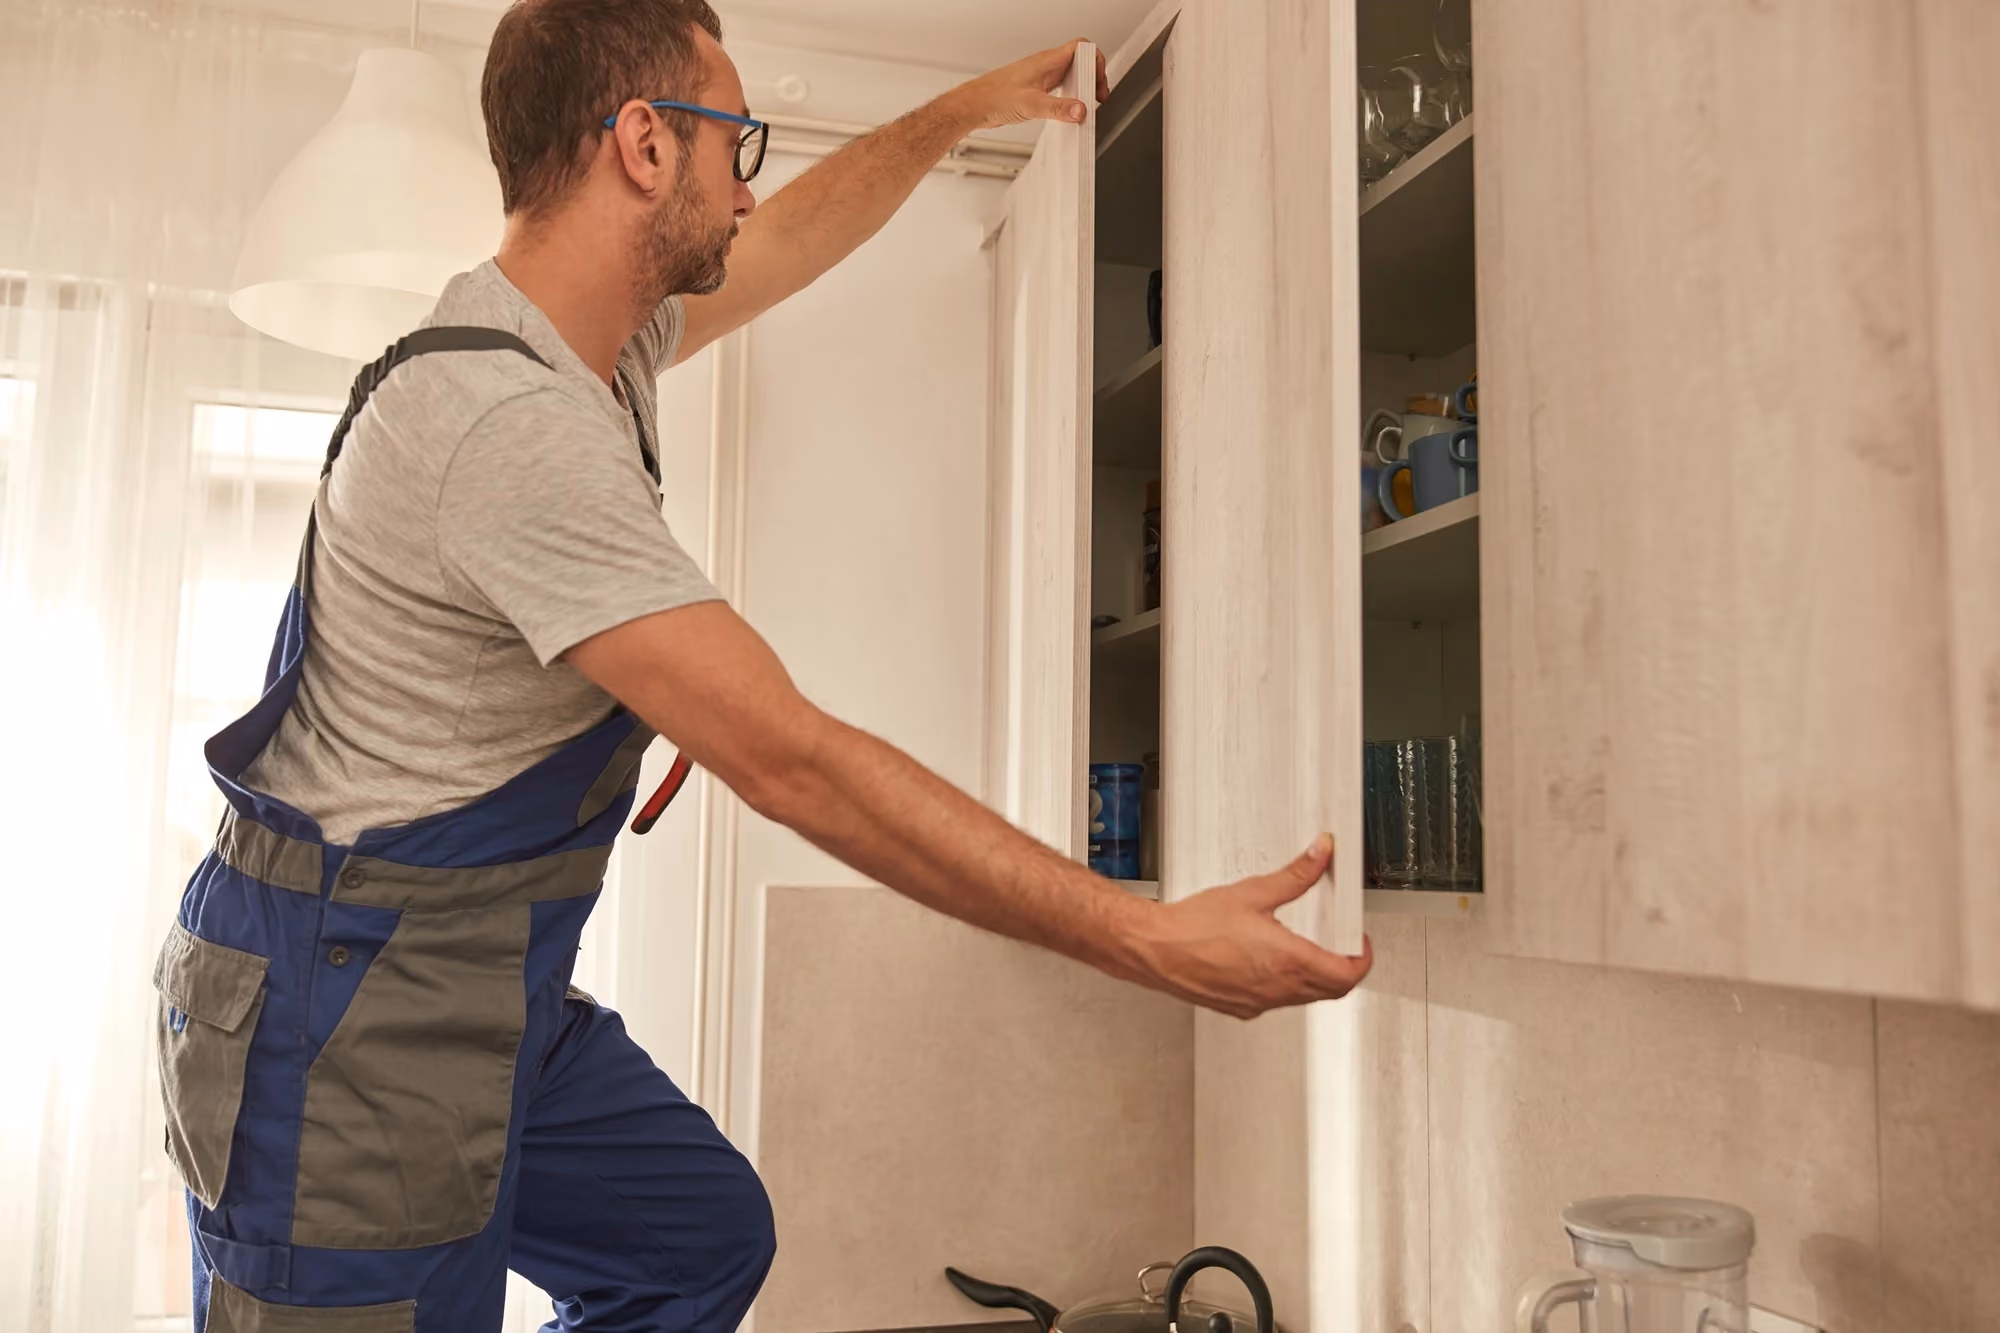
#1. Remove All the Doors and Drawer Fronts
The first order of business is removing your existing cabinet doors and drawer fronts. Carefully remove them, taking note of their location and any hardware attached. Labeling each cabinet door and drawer can be a lifesaver later when it’s time to reattach them to their rightful places. Be gentle with those old doors — you might need them for reference when ordering your new cabinet doors.
#2. Clean and Prep the Cabinet Boxes
Now that your cabinet boxes are exposed, it’s time to give them some TLC. Thoroughly clean them inside and out, removing any grease, grime, or remnants of the past. Before proceeding, inspect the cabinet frame for any damage or imperfections that need to be addressed to ensure a solid foundation for the refacing process. Next, inspect the surfaces for any imperfections. Sand down any rough patches or protruding bumps to create a smooth and even canvas for your refacing materials.
#3. Measure and Cut the Veneer Strips
Precision is paramount in the world of DIY kitchen cabinet refacing. Grab your measuring tape and measure the face frame stiles and rails of your cabinets — those vertical and horizontal pieces that form the framework of your cabinet doors.
Then, with the utmost care, cut your veneer strips to the exact width. Double-check, triple-check, and even quadruple-check your measurements before making any cuts.
Remember, accuracy is key to achieving a professional-looking finish.
#4. Apply the Veneer Strips
With your veneer strips cut to perfection, it's time to bring out the construction adhesive and the veneer applicator tool. Carefully align each strip with the corresponding face frame rail to ensure a perfect match.
Then, using the applicator tool, gently press the veneer onto the surface, working your way from one end to the other to eliminate any air bubbles or wrinkles. Think of it as applying a giant sticker.
#5. Attach the End Panels
Exposed cabinet sides? No problem! End panels can help. Measure the exposed sides of your cabinets and cut the end panels to fit snugly. Apply construction adhesive to the back of each panel and carefully attach them to make sure they are flush with the cabinet frames and create a seamless, polished look.
#6. Prep and Install the New Doors and Drawer Fronts
This is the moment you’ve been waiting for — the grand reveal of your new cabinet doors and drawer fronts! If you opted for unfinished doors, now is the time to be creative and paint or stain them to match your desired aesthetic. Two coats of paint or stain will ensure a rich, even finish that complements your kitchen’s style.
Once your doors and drawer fronts are ready for their debut, it’s time to install them using the existing hinge plates or new cup hinges. Before attaching the drawer fronts, measure the distance from the drawer box to the face frame drawer rail to ensure they are properly aligned. Make sure your doors and drawer fronts are carefully aligned before securing them with screws.
#7. Install New Drawer Hardware
The final touch to your masterpiece? Replacing your old drawer pulls and knobs with new hardware that complements your new cabinet style. Whether you choose sleek and modern or classic and ornate, new hardware can elevate the look of your refaced cabinets and add a touch of personality to your kitchen. When installing your new hardware, be sure to use a drill to create pilot holes before securing the pulls and knobs with screws. This will prevent the wood from splitting and ensure a secure and lasting attachment.
Thermofoil Refacing for the Ambitious DIYer
Today's thermofoil is not your parents' 1980s laminate that was prone to chipping and peeling. Modern thermofoil is among the most durable cabinet finishing options, offering exceptional moisture resistance, heat tolerance, and flexibility to conform to virtually any cabinet profile. It has a seamless appearance and a variety of finishes that make it an attractive option for those seeking a high-end look.
Additional Tools and Materials for Thermofoil Refacing
If you're ambitious enough to attempt thermofoil refacing, you'll need these specialized tools and materials:
Heat gun or iron: Essential for activating adhesive and conforming thermofoil to curved surfaces.
J-roller: For applying firm, even pressure to bond thermofoil to surfaces.
Specialty adhesive: Standard construction adhesive won't work; you'll need adhesive specifically designed for thermofoil.
Trim router: For precise edge trimming after application.
Heat-resistant gloves: Protect your hands when working with heated materials.
Edge banding trimmer: For clean, professional-looking edges.
Vacuum press (ideal but expensive): Creates the strongest bond between thermofoil and substrate.
Thermofoil Application: Step-by-Step Instructions
Yes, you can DIY cabinet refacing with thermofoil, but you’ll need patience and precision. Here are the essential steps:
Prepare your workspace: Ensure a clean, dust-free environment, as particles can create bumps under the thermofoil.
Cut thermofoil sheets: Measure and cut with at least 1" extra on all sides.
Apply adhesive: Use a specialized spray adhesive designed for thermofoil application.
Position the thermofoil: Carefully align the sheet over your cabinet face frame or door.
Heat activation: Use a heat gun to warm the thermofoil to make it pliable.
Press and conform: While warm, press the thermofoil onto the surface, working from the center outward.
Trim excess: Use a trim router to remove excess material after cooling.
Heat edges: For curved areas, reheat and use a J-roller to ensure adhesion.
Final pressing: Use a vacuum press if available, or apply even pressure with clamps and boards.
As professionals, we give this DIY project a difficulty rating of 8/10. Even experienced DIYers find thermofoil application challenging without specialized equipment like a vacuum press.
Challenges and Considerations of the DIY Cabinet Refacing Process
Refacing kitchen cabinets sounds straightforward, right? But be sure to acknowledge the potential challenges and common cabinet refacing problems you might encounter.
#1. Measuring and Cutting
Precision is crucial in cabinet refacing. Even a small miscalculation can lead to gaps, overlaps, or uneven surfaces. Be prepared to double-check all your measurements and take your time with cutting to avoid costly mistakes.
#2. Veneer Application
Applying veneer strips smoothly and evenly requires patience and a steady hand. Air bubbles, wrinkles, or misalignments can ruin the look of your refaced cabinets.
#3. Dealing with Imperfections
Your existing cabinets may have imperfections, such as dings, dents, or uneven surfaces, that need to be addressed before applying veneer strips or end panels. This may require additional sanding, filling, or repairs.
#4. Matching Existing Finishes
If you're only refacing your cabinet doors and drawer fronts, you'll need to ensure they match the existing finish of your cabinet boxes. This can be tricky, especially if your cabinets are older or have a custom finish. A matching stain pen can be helpful for touching up any unstained edges.
#5. Time Commitment
DIY kitchen cabinet refacing is not a weekend project. Depending on the size of your kitchen and your skill level, it can take several days or even weeks to complete. Be prepared to invest a significant amount of time and effort.
DIY vs. Professional Cabinet Refacing: Weighing Your Options
While DIY cabinet refacing can save you money, it's important to balance potential challenges against the value of your time and desired results. If you aren’t confident in your DIY skills or are short on time, professional refacing services may be preferred.
Here are some factors to consider when deciding between DIY and professional cabinet refacing:
Your skill level and experience: Are you comfortable using tools like a jigsaw and a drill? Do you have experience with woodworking or home improvement projects?
Time commitment: How much time are you willing to invest in this project? Do you have the flexibility to work on it over several days or weeks?
Budget: How much are you willing to spend on materials and tools? Can you afford to hire a professional if needed?
Desired outcome: Do you want a flawless, professional-looking finish, or are you willing to accept some imperfections?
Keep in mind that achieving the best finish with these materials often requires using a vacuum press, as opposed to simply using glue and a hairdryer!
The Final Verdict: Is DIY Kitchen Cabinet Refacing Right for You?
Ultimately, the decision of whether to tackle DIY kitchen cabinet refacing is a personal one. If you're up for the challenge, have the necessary skills and tools, and are willing to invest the time and effort, then go for it, but be prepared for potential issues like material chipping, especially with wood veneer, which may not withstand daily kitchen use as well as professional-grade materials.
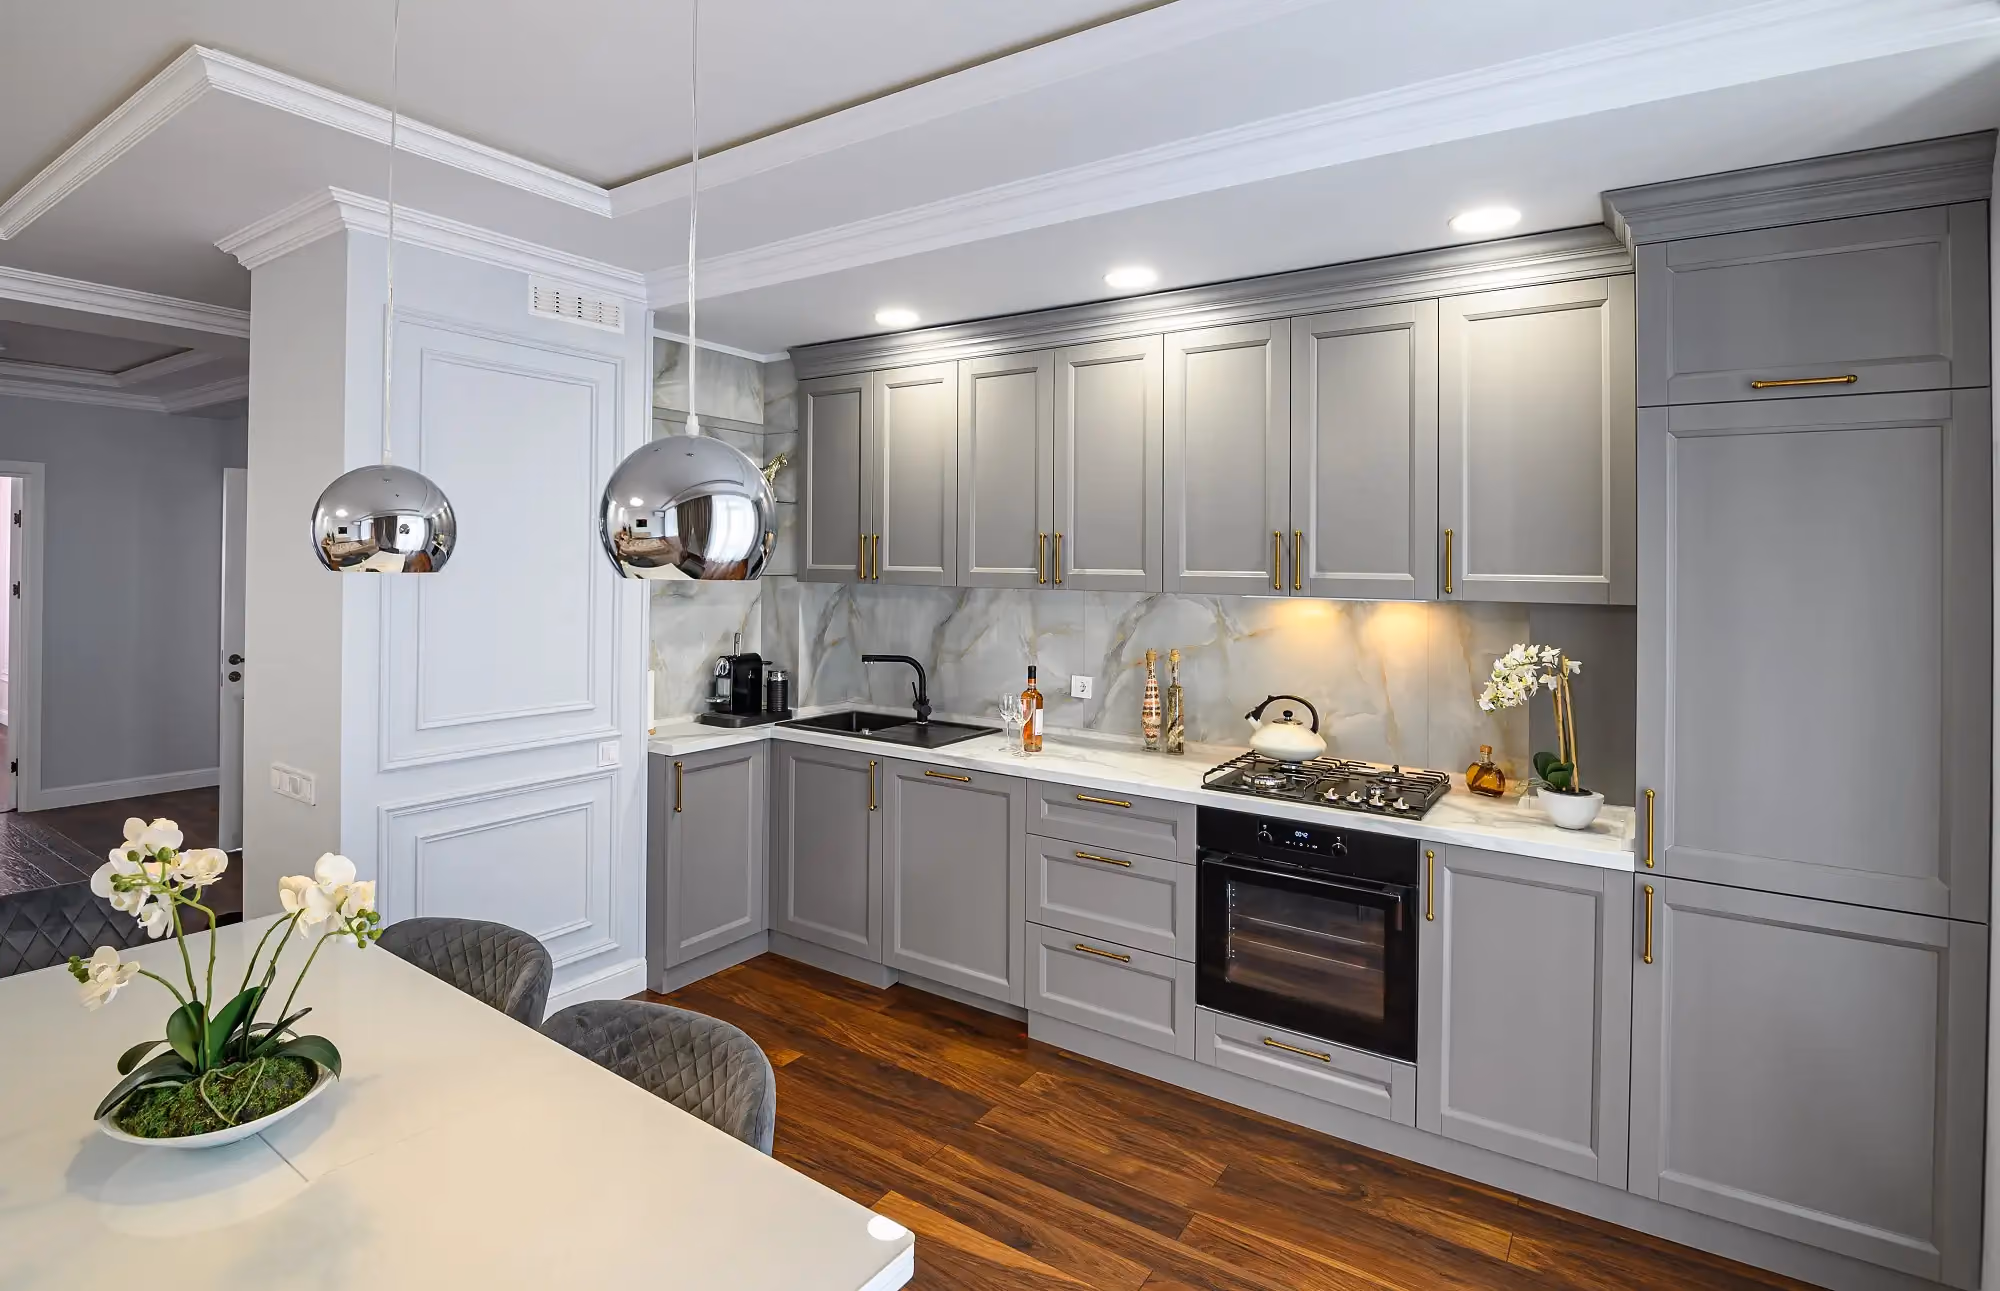
As cabinet refacing experts, Kitchen Cabinet Guys are always ready to provide top-notch refacing services for all door styles, cabinet boxes, sizes, and designs. Our family-owned and local Chicago company offers high-quality thermofoil material that can transform your kitchen in a few days without disruption. You’ll see our emphasis on quality, craftsmanship, and customer support in all that we do. Contact our team today to schedule your free consultation and let us help you create the kitchen of your dreams.
No time for DIY projects? Our Chicago Area cabinet refacing team handles everything while you enjoy your life. Experience the difference professional thermofoil refacing makes — done right the first time.