Yes, you can paint thermofoil cabinets — but you really need to know what you’re getting into. These aren’t like wood cabinets, and painting them takes serious prep and the right approach if you want results that actually last. A lot of homeowners run into trouble with peeling or outdated cabinets and hope paint will fix it without the cost of a full remodel.
With years of experience in cabinet refacing services, we've seen countless DIY painting attempts on thermofoil cabinets — some successful, some disastrous. Our expertise in cabinet surface transformations gives us unique insight into what truly works for these tricky surfaces.
Understanding Thermofoil Cabinets: Why They're Challenging to Paint
Thermofoil is a thin vinyl layer bonded to MDF using heat and pressure. It’s smooth, non-porous, and tough for paint to grip. Over time, it tends to peel, especially around the edges and near appliances where heat wears down the adhesive. After 15 to 20 years, the material gets brittle, and that’s when things really start to break down.
Most people start looking into painting thermofoil cabinets for a few reasons:
Yellowing: White thermofoil cabinets often develop a yellowish tint over time, especially when exposed to sunlight or cooking oils, making kitchens look dated and dingy.
Peeling and delamination: Edges and areas near dishwashers or ovens are particularly vulnerable to peeling as heat weakens the adhesive bonding the thermofoil to the MDF.
Bubbling: Moisture and heat can cause thermofoil to bubble or blister, creating unsightly raised areas that worsen over time.
Outdated appearance: Many thermofoil cabinets installed in the early 2000s feature styles and colors that no longer match current design trends.
You can try peeling off the thermofoil layer before painting, but it’s risky. The MDF underneath is fragile and doesn’t hold up well during sanding or stripping. Unless you’re experienced and ready to replace damaged doors, this route usually causes more harm than good.
Painting Thermofoil Cabinets: The Step-by-Step Process
While painting thermofoil cabinets can transform your kitchen's appearance, the process requires patience and attention to detail. Success depends largely on thorough preparation and using the right materials for this unique surface.
1. Prep Like You Mean It
Prep is everything. Take off the doors, drawer fronts, and hardware. Clean every inch with a degreaser to wipe out years of cooking grime. Then grab 220-grit sandpaper and scuff the surface just enough to give your primer something to grip. If you see peeling edges, re-glue them or sand them smooth so the damage doesn’t show through.
Heads-up: You can paint over thermofoil that’s mostly intact. But if it’s peeling badly, the paint will lift off too. Fix those trouble spots first, or you’ll be doing it all over again in a few months.
2. Choosing the Right Materials for the Job
Selecting appropriate primers and paints specifically designed for non-porous surfaces is crucial for a durable finish on thermofoil cabinets. Start with a high-quality bonding primer like INSL-X Stix or Zinsser BIN, which are formulated to adhere to slick surfaces. For the topcoat, self-leveling cabinet paints with extended open time work best, such as Benjamin Moore Advance or Sherwin-Williams Emerald Urethane Trim Enamel.
If you’re painting thermofoil cabinets white, you’re in luck — it’s one of the more forgiving colors. But don’t use oil-based paint if you want to avoid yellowing. Stick with high-quality acrylics. Always apply several thin coats instead of one heavy one. This helps block any discoloration from bleeding through and gives a much smoother finish overall.
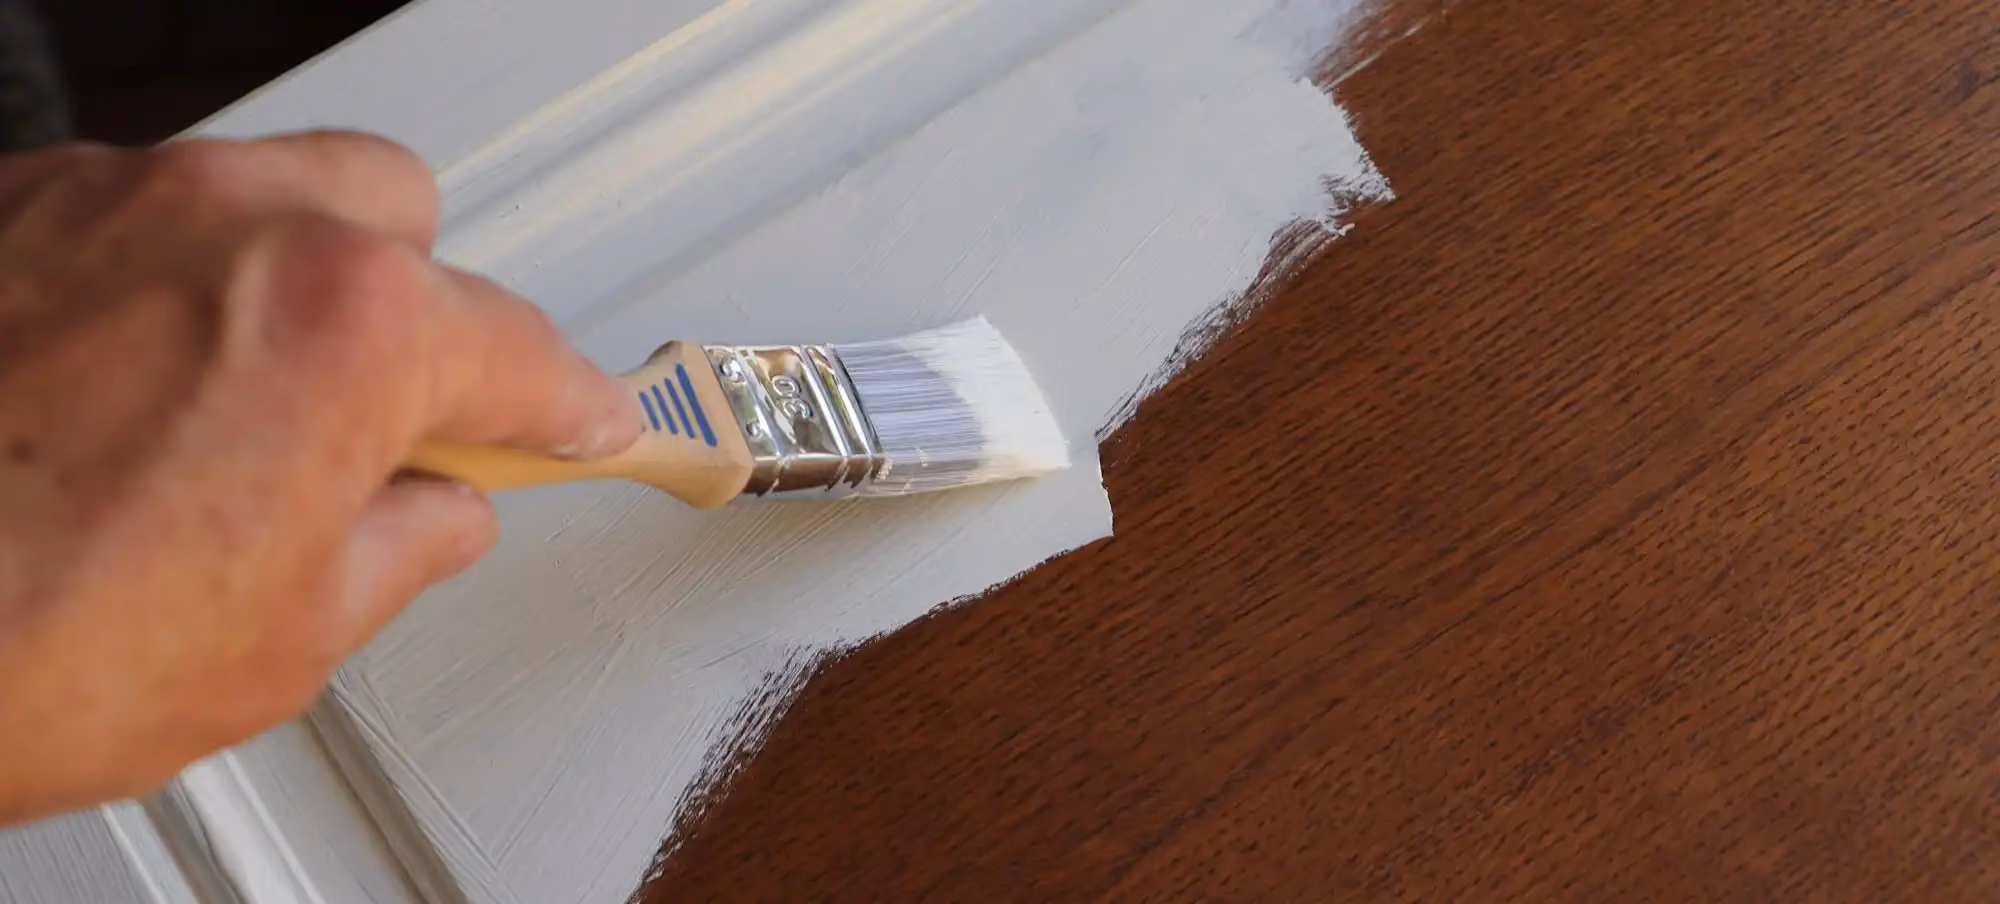
3. The Painting Process
Use a quality brush to cut in around cabinet frames and a foam roller to cover flat panels. This keeps strokes to a minimum and gives you a smoother finish. Let your bonding primer dry fully before moving on — most need a full 24 hours to set properly. Once dry, apply your cabinet paint in thin, even layers. Use care around detailed areas where paint tends to pool.
After each coat dries, give it a quick sanding with 320-grit sandpaper. This helps each new coat stick better and smooths out any tiny imperfections. Two coats are usually the minimum for good coverage. Once your final coat is dry, don’t rush to reinstall hardware or start using the cabinets right away. Let the paint cure for at least 3 to 7 days so it can fully harden and resist everyday wear.
4. Protecting Your Painted Finish
To maximize the lifespan of your newly painted thermofoil cabinets, consider applying a clear water-based polyurethane topcoat for additional protection against wear and moisture. Choose products specifically labeled for cabinetry to avoid yellowing over time. After everything has fully cured, maintain your cabinets by cleaning with gentle, non-abrasive cleaners and microfiber cloths.
Keep your newly painted cabinets away from heat and steam, especially in the first few weeks. High temperatures and humidity can weaken the paint bond and cause early peeling. For cabinets near dishwashers or ovens, installing a heat shield or some added insulation behind the side panels can go a long way toward protecting the finish and extending its life.
The Real Truth: Durability of Painted Thermofoil Cabinets
Even when done right, painted thermofoil cabinets don’t hold up forever. Most start showing signs of wear within 1 to 3 years. No matter how well you prep, paint and seal them, paint will always have a hard time bonding permanently to vinyl surfaces. Things like heat, moisture, and daily use can wear down the finish and make it peel sooner than you’d like.
The most common failure spots are around knobs and handles, where the paint gets touched the most. Edges where the original thermofoil was already weak also tend to break down faster. Areas near hot appliances are another issue. And while touch-ups are possible, they rarely blend in perfectly. Over time, these patchy spots add up and make the cabinets look uneven.
Painting over thermofoil is a bit like putting frosting on a melting ice cream cake — it might look good for the moment, but you're fundamentally fighting against a surface that doesn't want to cooperate. You'll likely spend hours meticulously smoothing layer after layer, only to watch your hard work slowly separate from the cabinet surface within months.
Cost Comparison: Paint, Reface, or Replace?
When considering options for updating thermofoil cabinets, it's important to weigh both immediate costs and long-term value. Each approach offers different benefits depending on your budget, timeline, and how long you plan to remain in your home. Both of these options are being regularly compared with one another by homeowners searching for a quick, affordable option. Now, let's compare the costs and benefits of each option:
Option
Upfront Cost
Lifespan
Long-Term Value
Time Investment
DIY Painting
$150–$250
1–3 years
Low — requires frequent refreshing
4–7 days
Professional Painting
$1,000–$2,500
3–5 years
Medium-Low — better application but same adhesion issues
2–3 days
Professional Refacing
$4,000–$9,000
15–20+ years
High — durable new surfaces
2–3 days
Complete Replacement
$10,000–$30,000+
20–30 years
Highest — but may be overkill if cabinet boxes are sound
1–3 weeks
Painting may seem like the cheapest fix, but it rarely holds up if you’re planning to stay in your home long-term. Constant upkeep and early wear often make it a frustrating option down the road.
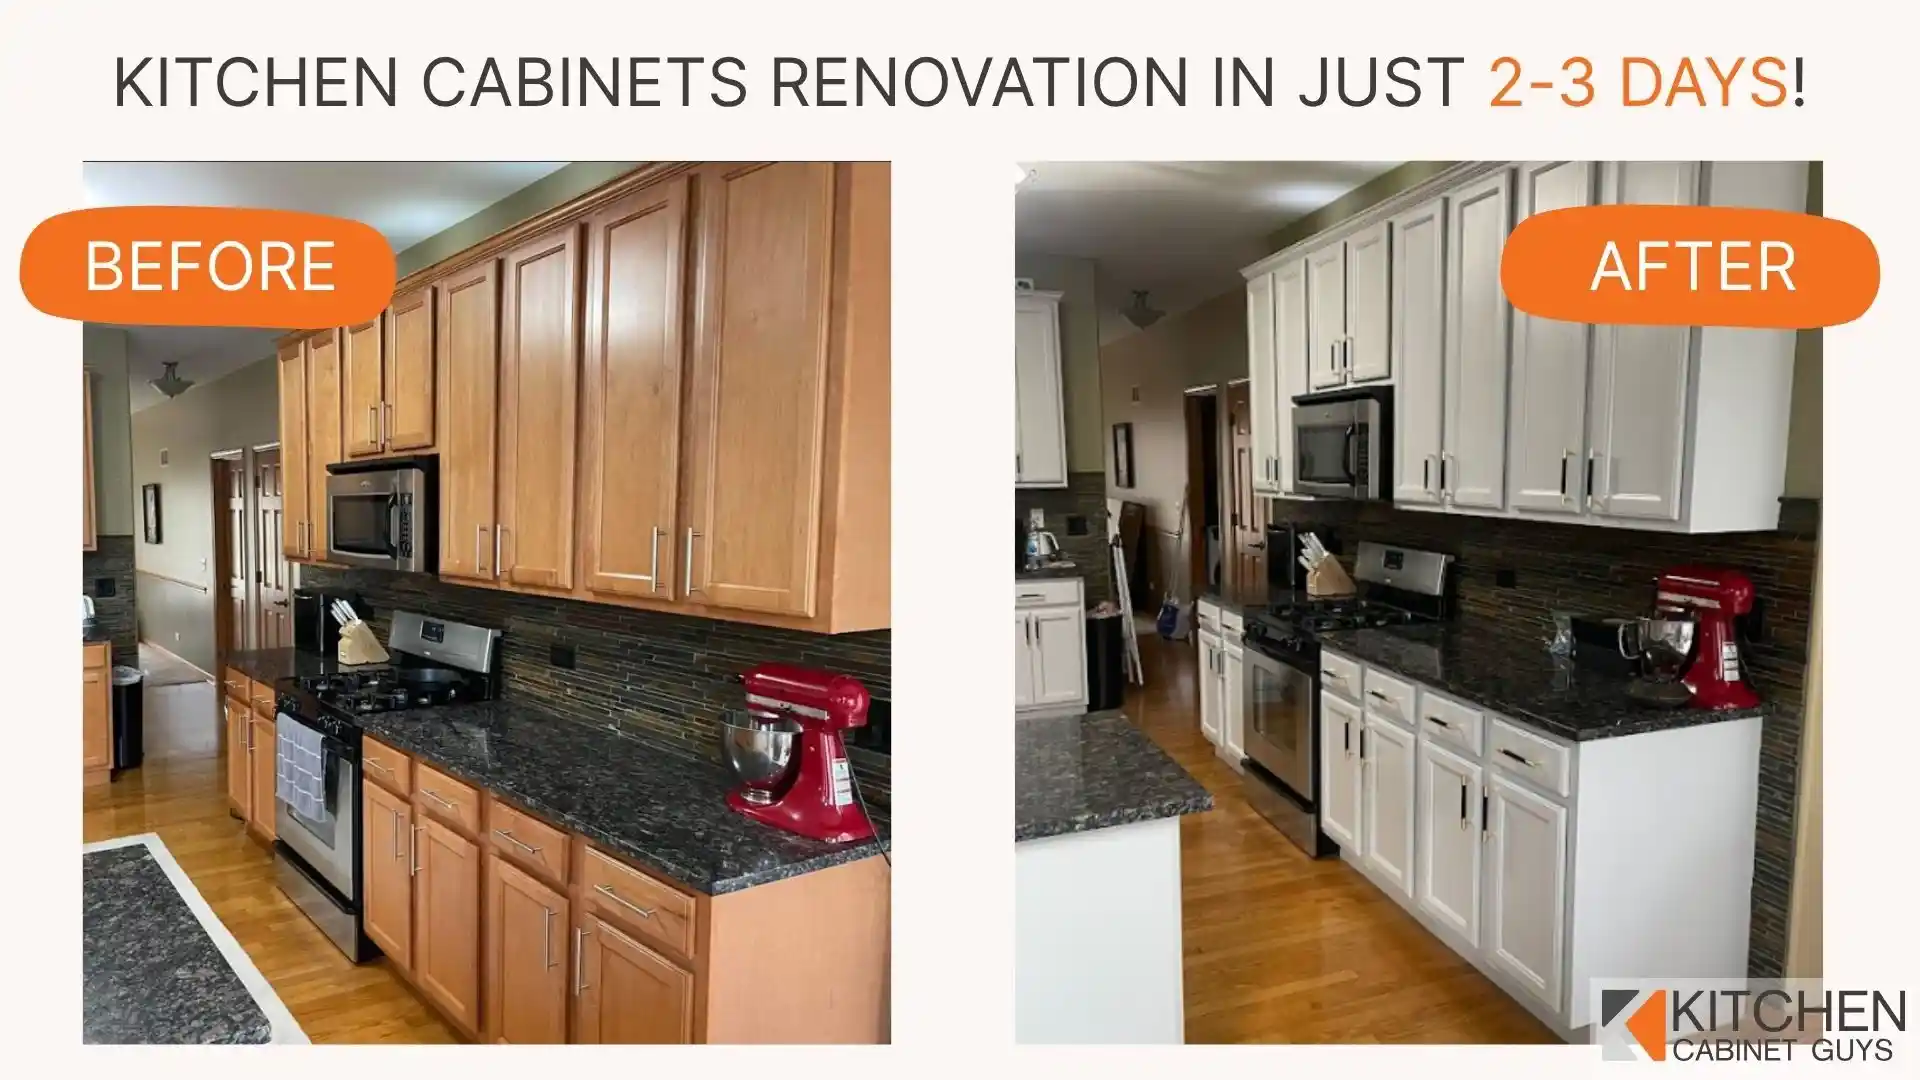
Cabinet Refacing: A Superior Alternative to Painting Thermofoil
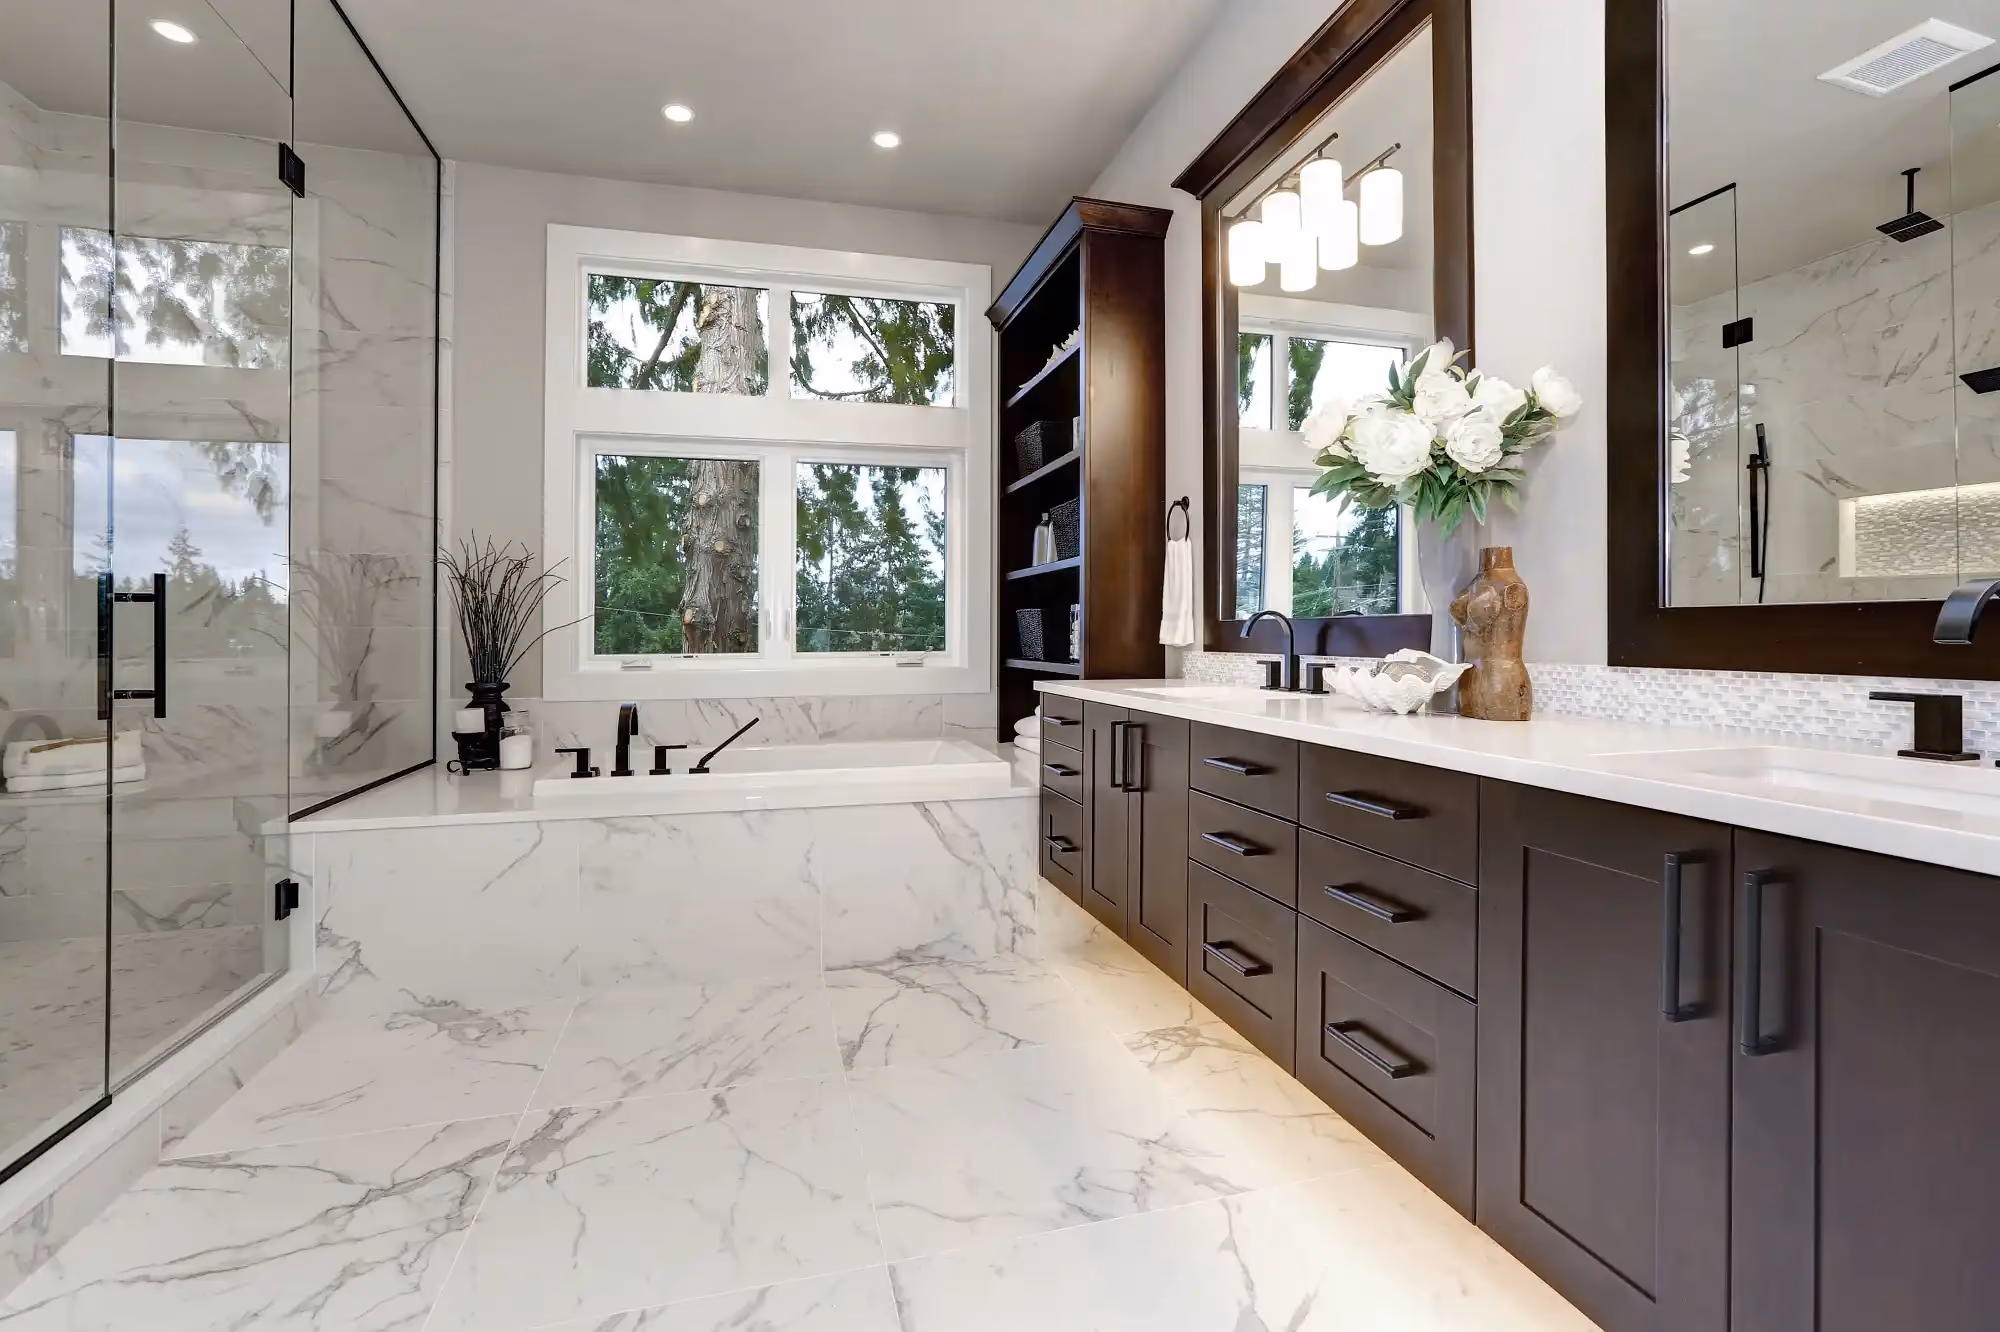
Can thermofoil cabinets be refaced? Absolutely — and with significantly better results than painting alone. Professional cabinet refacing preserves your existing cabinet boxes while completely replacing the doors and drawer fronts with new, durable materials. This middle-ground solution addresses the core problems with thermofoil surfaces while costing significantly less than a full cabinet replacement. Moreover, new thermofoil can be applied both for kitchen and bathroom cabinets.
A quick note here:DIY refacing is technically possible, but it’s not easy. It calls for specialty tools, detailed measurements, and experience with finishing work. Without those, the end result often includes crooked doors, visible seams, or peeling edges, and repairs usually end up costing more than hiring a professional from the start.
Professional cabinet refacing offers numerous advantages over painting:
15–20+ years of durability: Professionally refaced cabinets use commercial-grade materials specifically designed for kitchen environments, providing decades of reliable performance.
Complete surface replacement: Rather than covering up problems, refacing completely replaces the problematic thermofoil components, eliminating the root cause of peeling and damage.
Higher home value: Refaced cabinets maintain their appearance and functionality over time, providing better ROI than painting when selling your home.
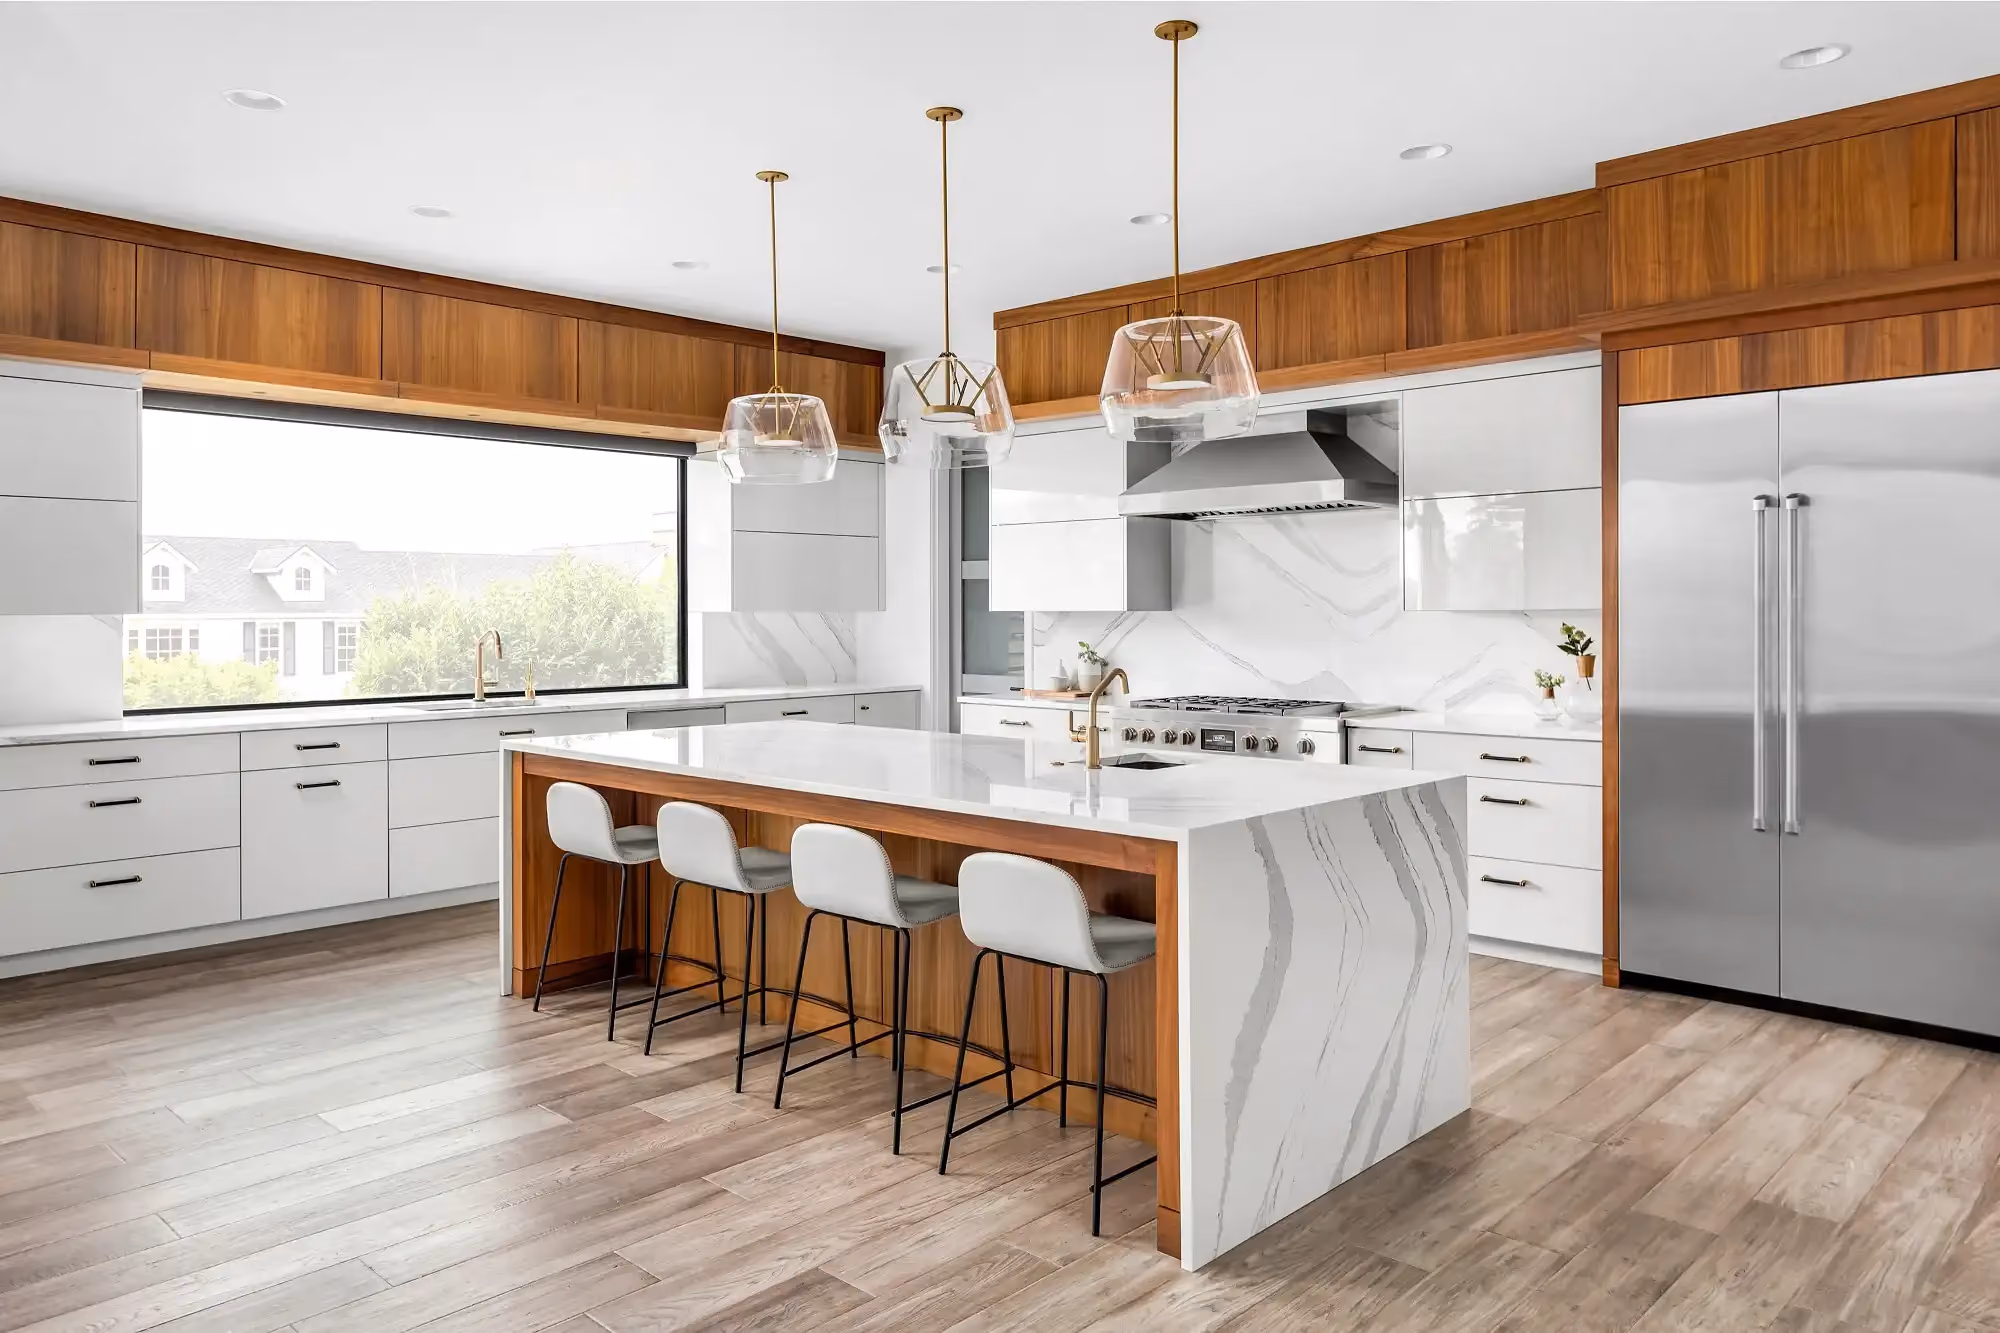
Extensive design options: Select from hundreds of door styles, finishes, and materials not possible with paint, including modern wood veneers, textured laminates, and durable solid surfaces.
Heat and moisture resistance: Quality refacing materials withstand kitchen conditions that would quickly damage painted thermofoil, particularly around dishwashers and cooking areas.
Refacing with durable 3D laminate doesn’t just cover up damaged thermofoil — it replaces it entirely with materials that last.
Making Your Decision: Is Painting Thermofoil Really the Right Decision?
Before you decide to paint, think about your goals. Are you looking for a short-term solution before selling or remodeling soon? If so, painting might be a passable fix. But if you want a long-term upgrade that solves peeling, yellowing, and bubbling at the source, refacing gives you much more value for your money.
As trusted cabinet refacers serving Chicago and surrounding areas, Kitchen Cabinet Guys offers free consultations to help you explore all your options for transforming outdated thermofoil cabinets. Contact us today to discover how our proven refacing process can give you a kitchen you'll love for years to come.